
This week we studied the letter S.
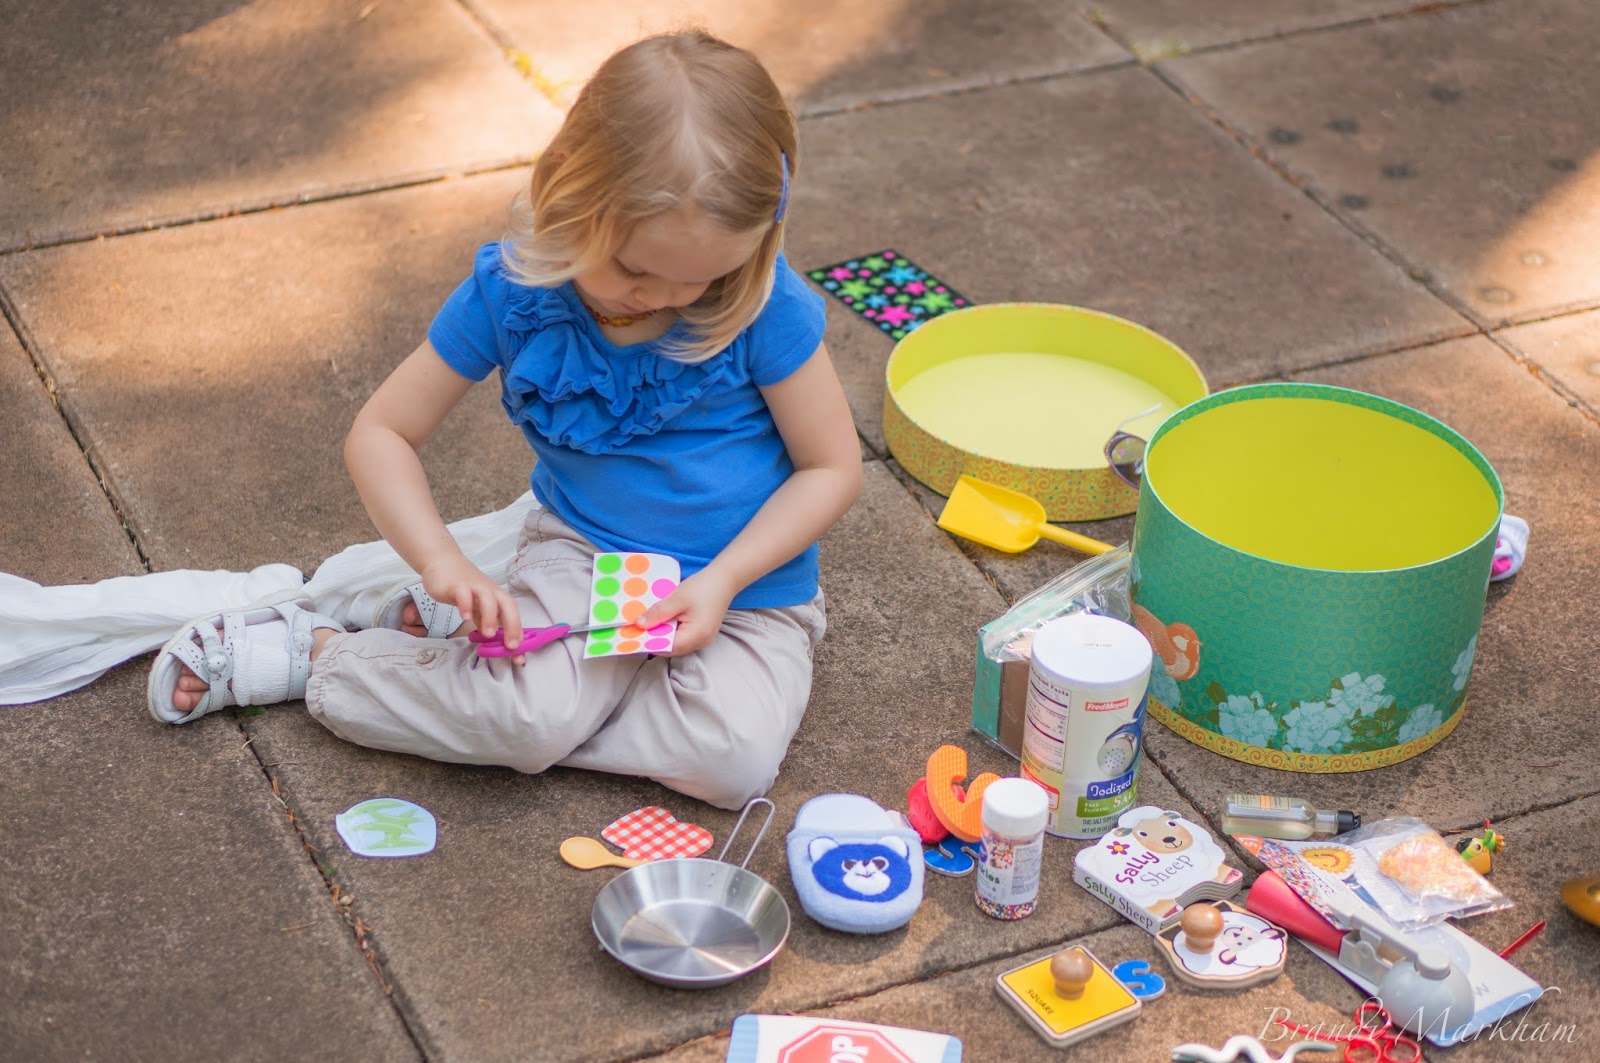 |
| Letter S Mystery Box - (lots to choose from!) upper & lowercase letter S's, square, socks, slipper, stickers, stars, snow, sprinkles, sheep, stop sign, shovel, sling, skillet, sandwich, salt, snap peas, straw, stamps, scoop, shark, shampoo, & scissors |
 |
| S is for Swat! I would call out letters & then Nolin would swat it! We also played this with numbers. |
 |
| S is for Scavenger Hunt! We went on two fun scavenger hunts - one looking for outdoor objects & the other looking for certain colors. This was a lot of fun & Nolin did so well. I think this was one of her favorite activities so far. These cute scavenger hunt pages came from Just Sweet & Simple. There are lots of other cute ones too! |
 |
| Deep thought... |
 |
| Nolin found a tree...LOL |
 |
| Proud of her completed scavenger hunts! |
 |
| Nolin wanted to pull Harris back home after our scavenger hunts. |
 |
| S is for Sprinkles |
 |
| S is for Shapes! We played around with our shape clock/puzzle. Nolin would identify the shape & number as she placed them in the puzzle. She did really well with the shapes & numbers. |
 |
| Nolin practiced tracing shapes. |
 |
| S is for Stamping! Nolin identified the letters & then stamped the matching letter on top of the grid. This was a great exercise for her to really focus on the form of the letters. |


 |
| S is for Snow Paint - We had quite a bit of fun with this & made quite a bit of mess! This is an equal mix of shaving cream & liquid glue. When it dries, it feels puffy. |


 |
| I printed some number cards with little poems to help you remember how to make them. Then I laminated them & Nolin practiced writing the numbers with a dry erase marker. |
 |
| S is for Stickers - Nolin identified numbers & then counted the correct number of stickers to stick on them. Harris enjoyed practicing fine motor skills by placing stickers on a sheet of his own. |


 |
| S is for Salt Sculptures! These were a lot of fun. I found this idea on Fun at Home with Kids. Check there to see details on how to do this, but basically you mix salt with a little bit of water. Then you pack it into molds & let dry overnight. Next, you remove the salt sculptures from the molds & let them dry overnight again. Last, you "paint" the salt sculptures with liquid watercolors & a dropper. |


No comments:
Post a Comment